User Manual 3.0
System Requirements
- The installation of RTX-A5000 on Intel x86_64 requires 30 GB of Disk Space.
- The installation of GenAI on Intel 12~13th CPU requires 32 GB of Disk Space and 16 GB physical Memory.
- The installation of GenAI on Jetson AGX Orin requires 32 GB of Disk Space and 16 GB physical Memory.
Install
- Do NOT use (
sudo suorsudo) to install - An active Internet connection is required
- Don't
apt upgradebefore installation
$ tar zxvf Edge_AI_SDK-installer-<version>.tar.gz
$ ./Edge_AI_SDK-installer.run
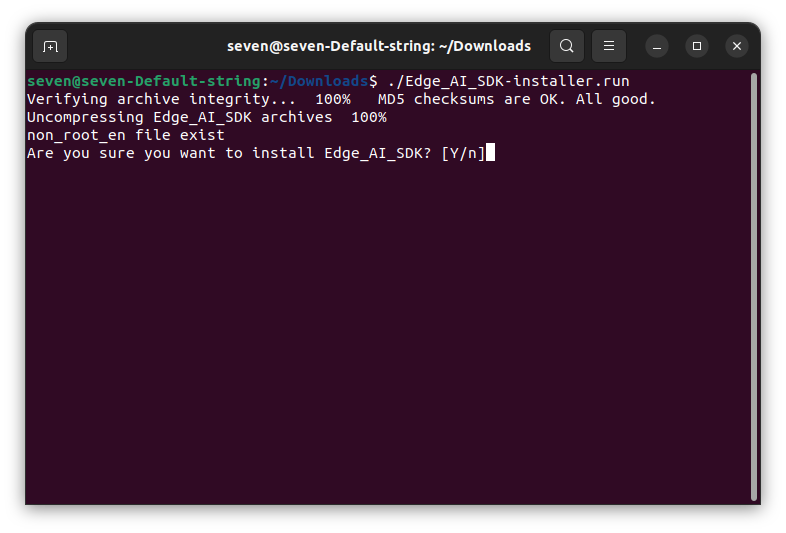
-
License Agreement
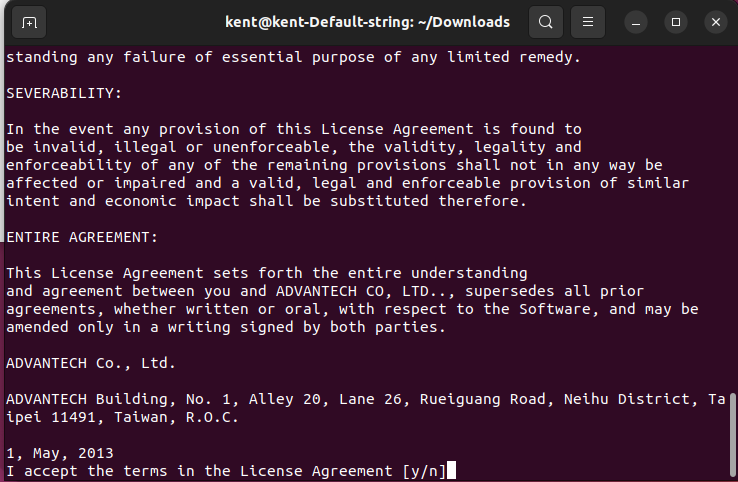
-
System Information (by target platform)
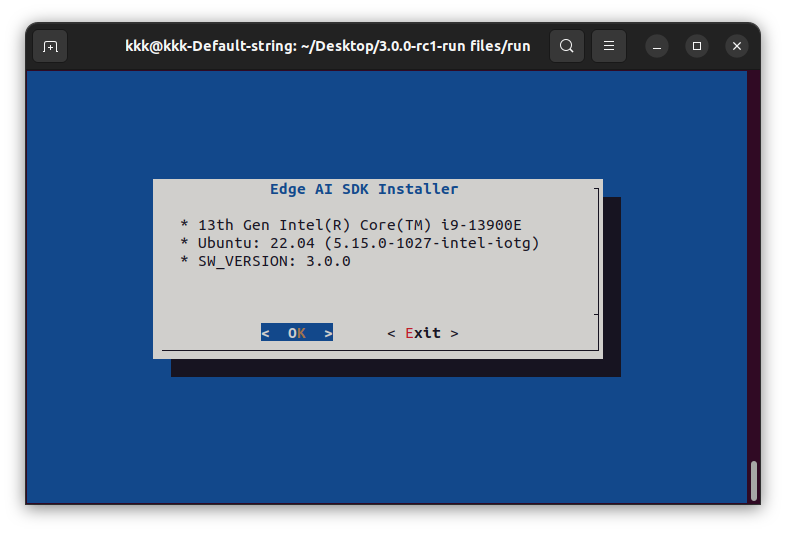
-
Select AI Accelerator SDK
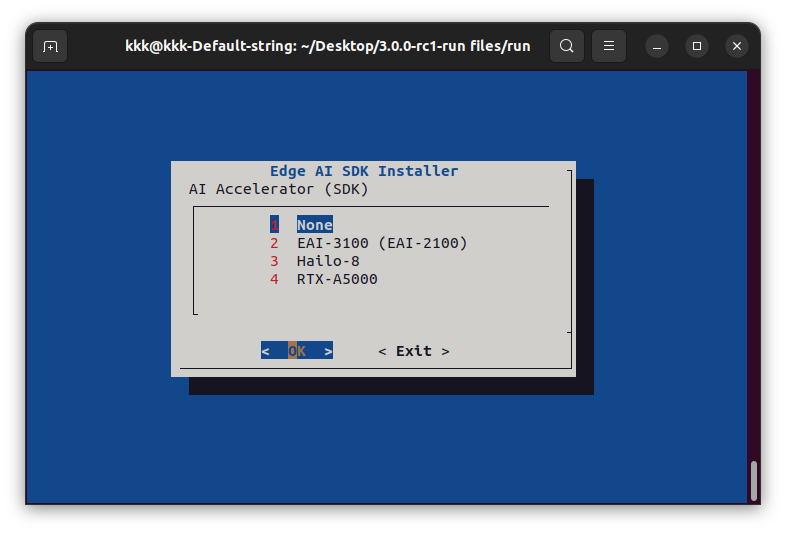
-
Select GenAI SDK
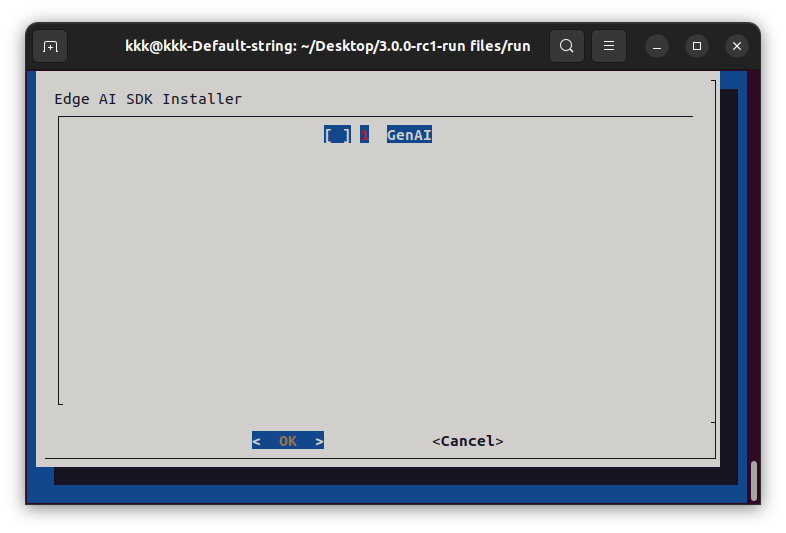
Activation
-
User Information
Please fill in the required information one by one, especially a correct email.
The following activation will need an available email. Then press the Next button to proceed.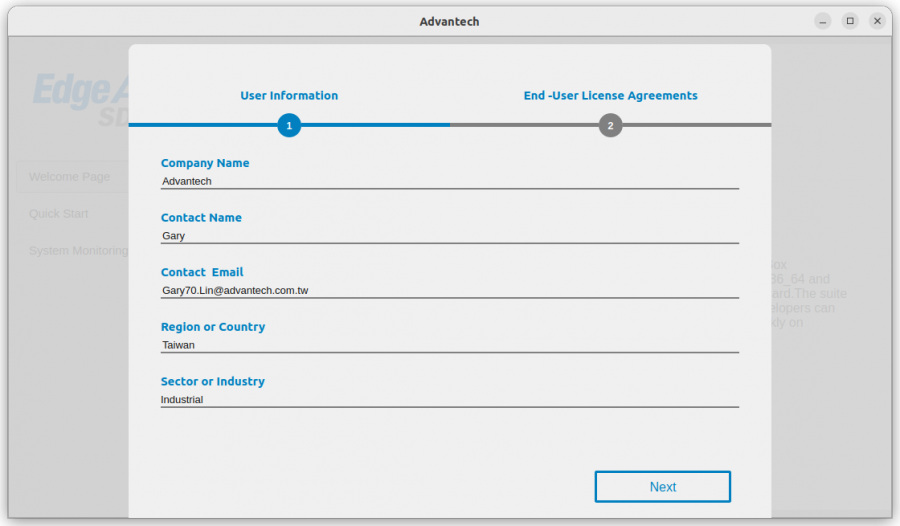
-
License Agreement
Please review EULA and then press the Activation button if the content is agreed.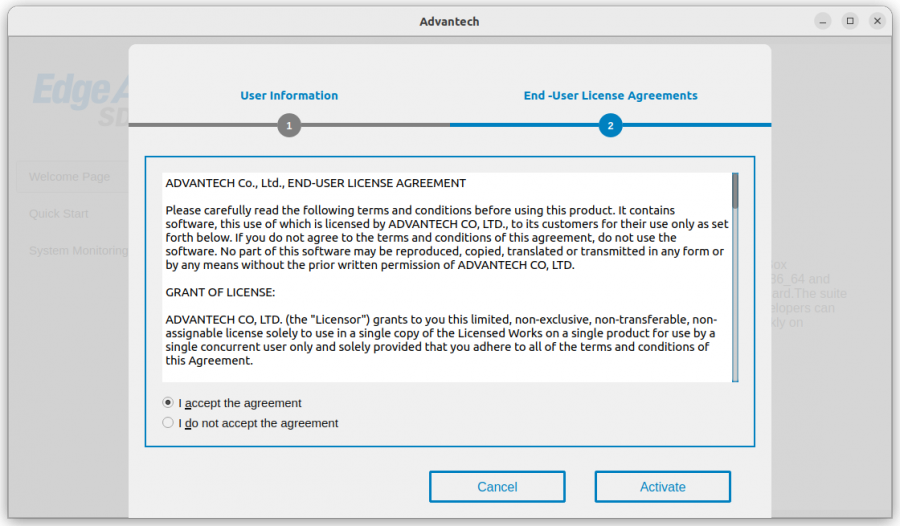
-
Activation Code
If internet is available, a dialog will pop up to ask you to enter a token for activation.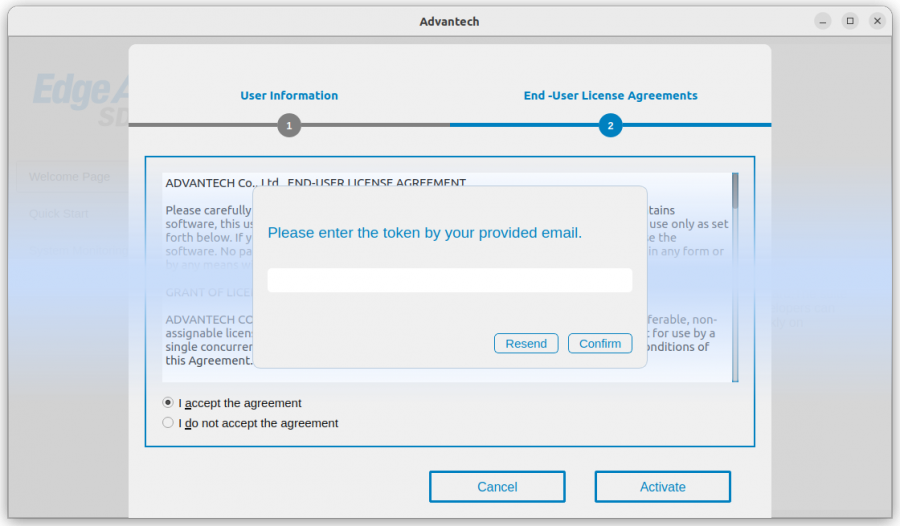
Uninstall
cd /opt/Advantech/EdgeAISuite
./unInstall.sh
Quick Guide
Edge AI SDK caters to users who are comfortable with the machine learning (ML) experience.
It can quickly evaluate computing performance for the CPU or GPU, and provides runtime results inferenced with ML.
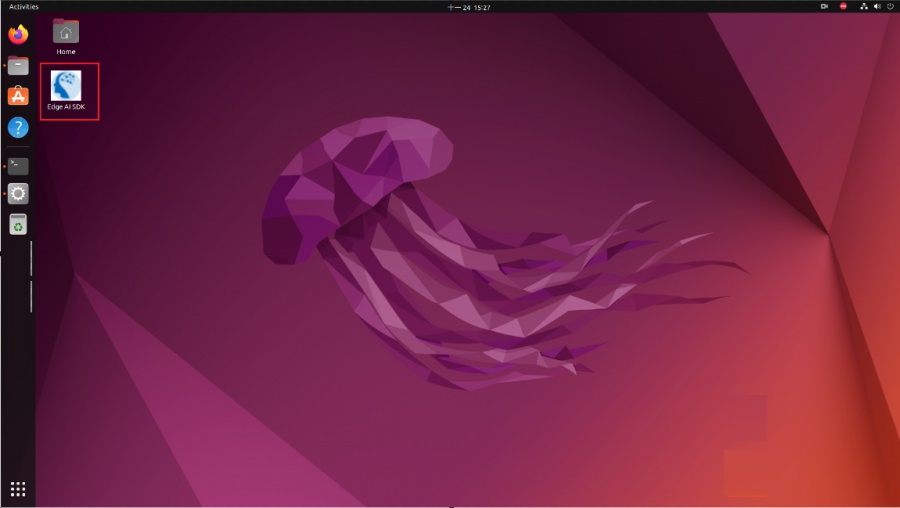
Double click the icon (in the red box) on the Desktop to start the Edge AI SDK App.

How to Quickly Start Vision AI
Step 1. Go to the Quick Start (Vision) page, as shown below.
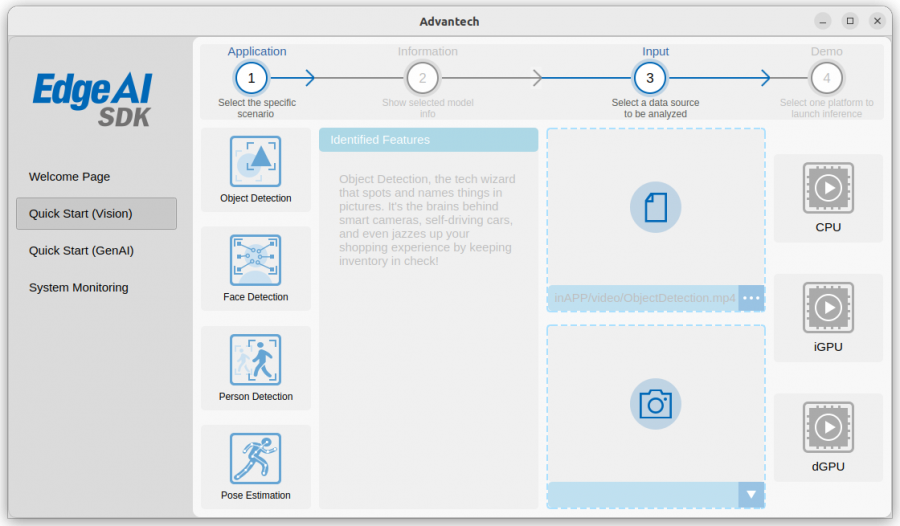
Step 2. Choose one application you want to activate and confirm inference info.
(1. Object detection, 2. Face detection, 3. Person detection, 4. Pose estimation)
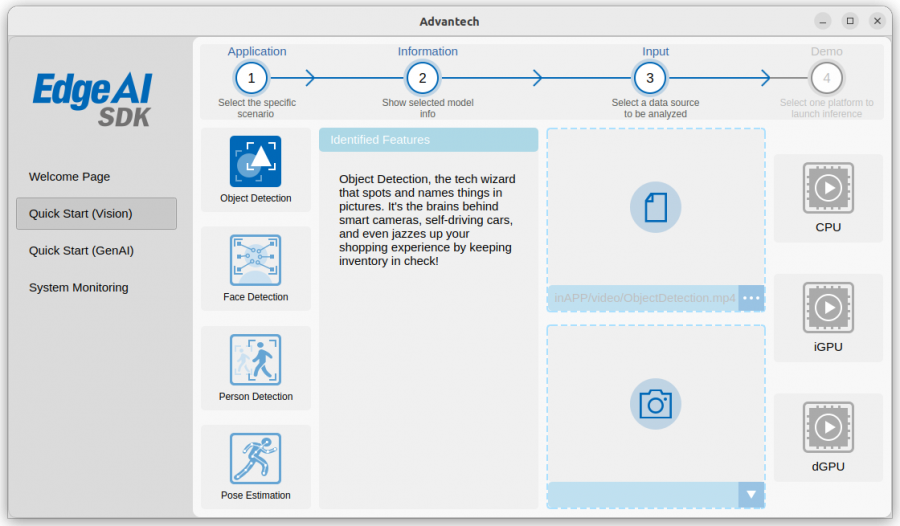
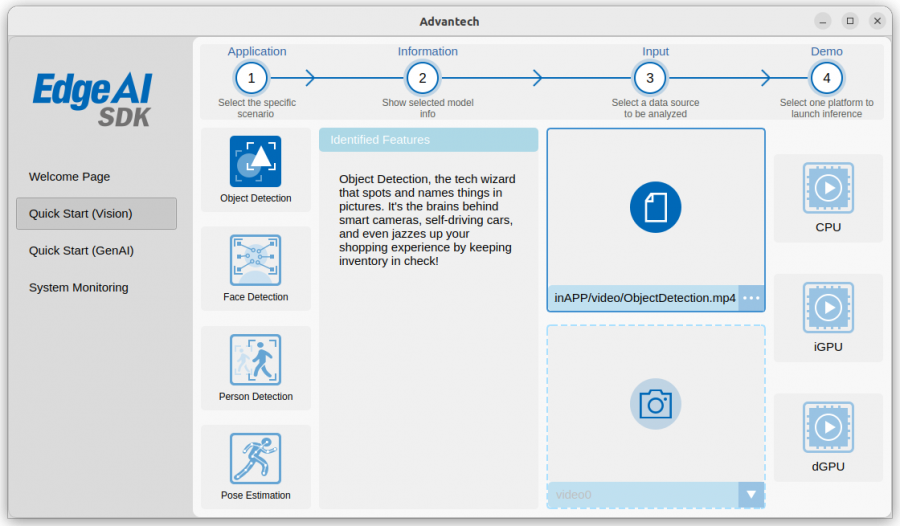
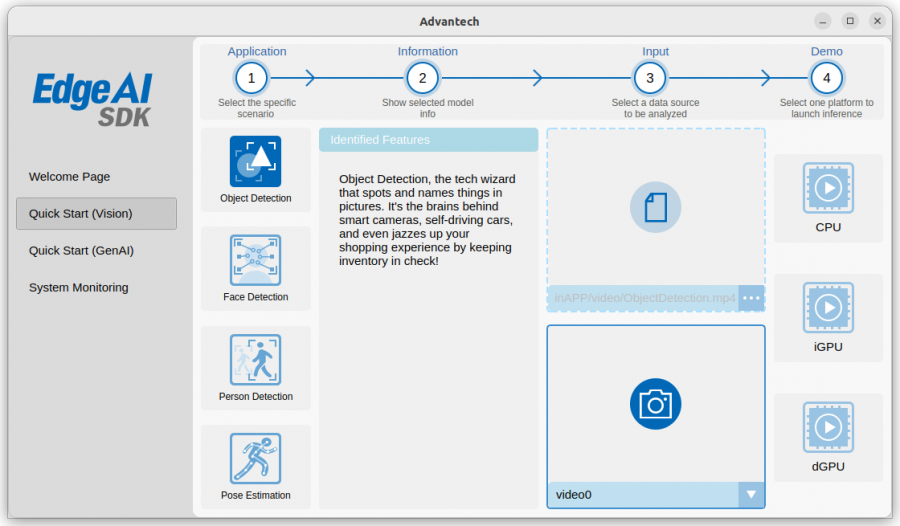
Step 3. Choose your video source (video clips or USB Camera).
-
Video (Note: .MP4 only)
-
USB Camera
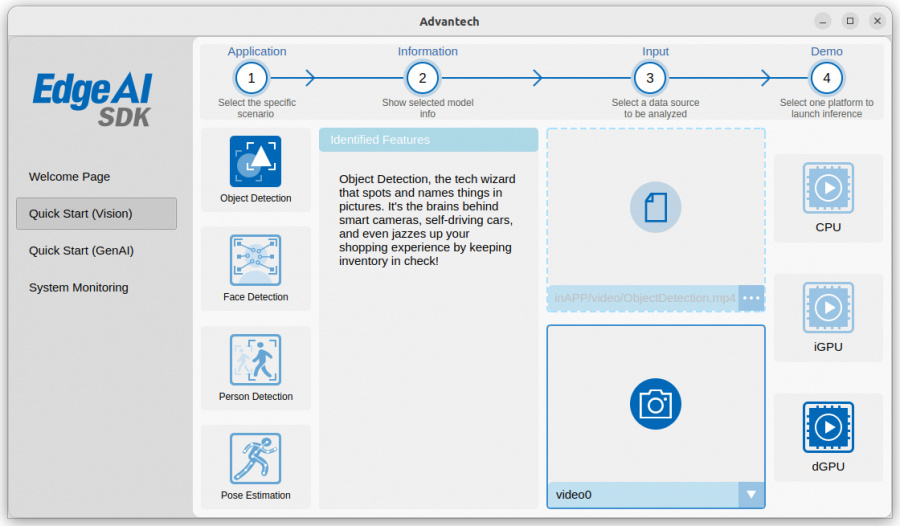
Step 4. Choose one of the acceleration chipsets to execute the selected inference application.
Note: The available accelerator chipsets depend on your AI system and accelerator card.
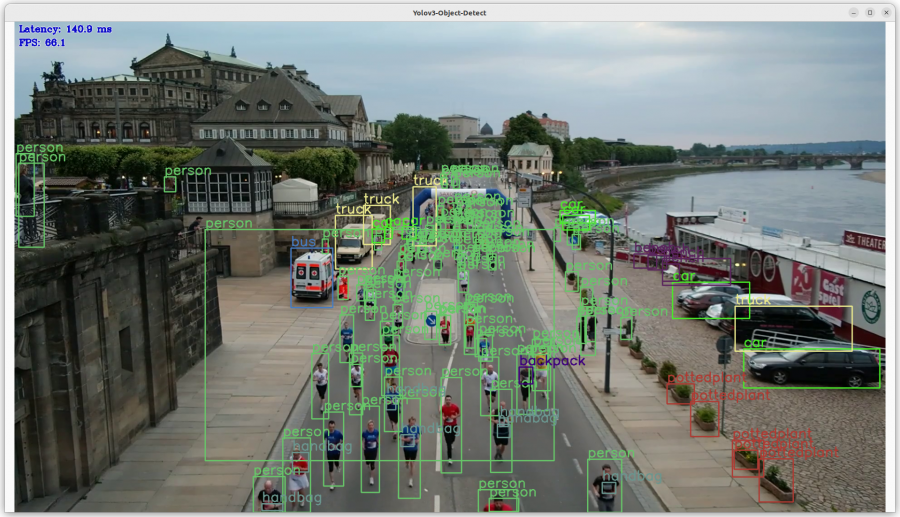
Step 5. Another window will pop up to show the AI inference.
Object Detection
Object Detection is a computer vision task in which the goal is to detect and locate objects of interest in an image or video.
It involves identifying the position and boundaries of objects, and classifying them into different categories.
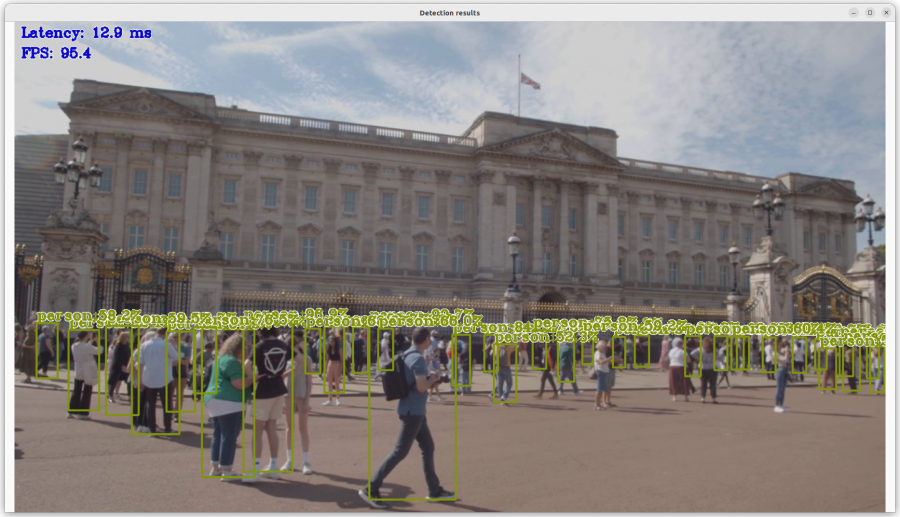
Person Detection
Person Detection is based on object detection systems that can classify detected objects as human.
It is used in many sectors: security, insurance, nursing, health, and production.
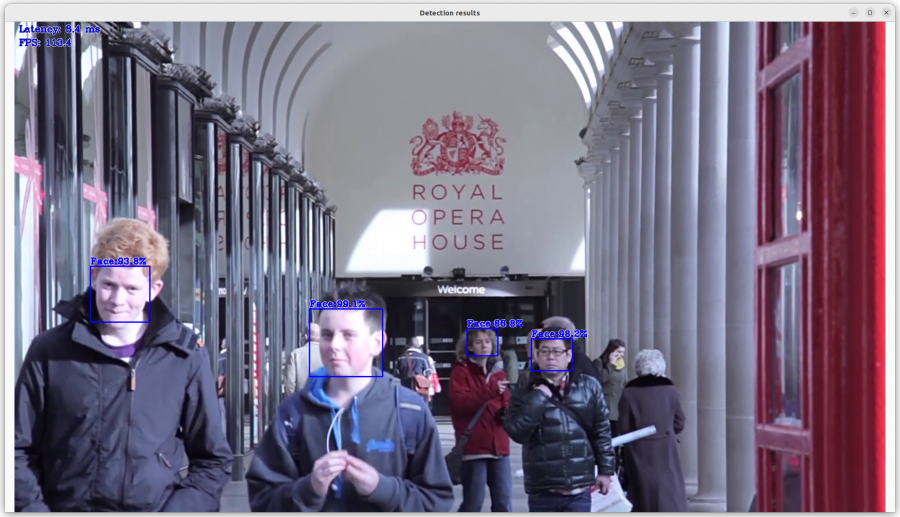
Face Detection
Facial Detection is the task of identifying faces in a photo or video against a database.
It begins with detection (distinguishing faces) and continues with identification.
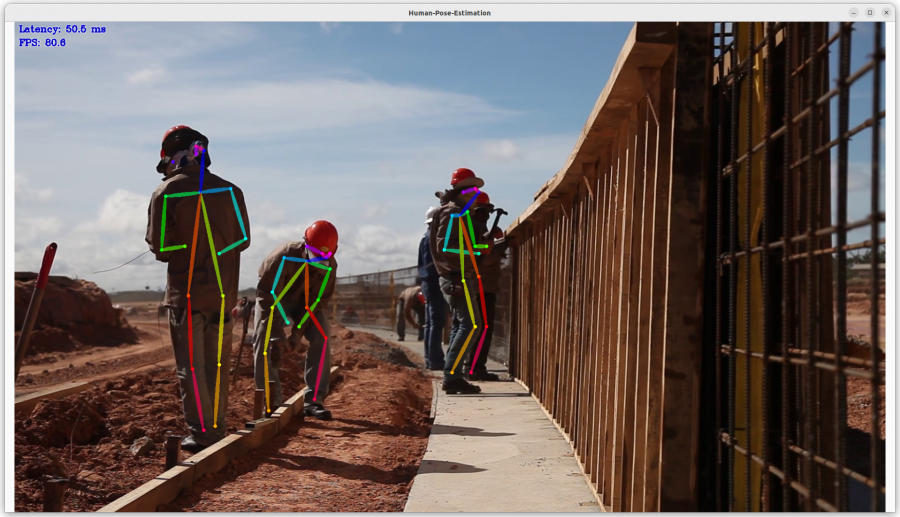
Pose Estimation
Pose Estimation detects the position and orientation of a person or object.
Usually done by predicting keypoints like hands, head, elbows, etc.
How to Quickly Start GenAI
Step 1. Go to the Quick Start (GenAI) page.
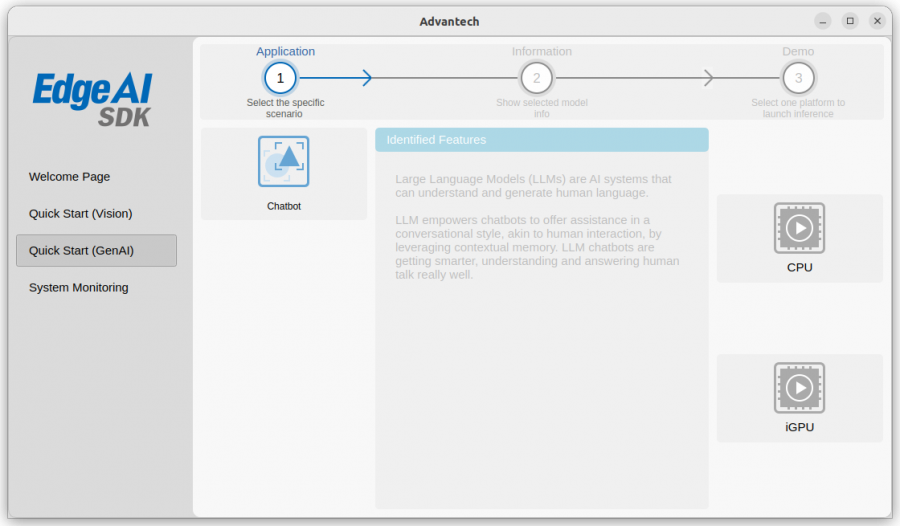
Step 2. Choose application (chatbot).
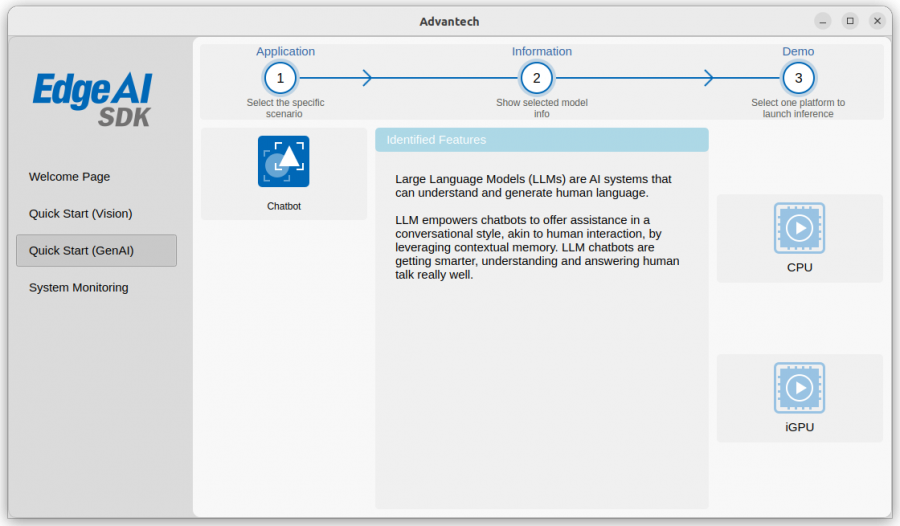
Step 3. Choose one of the acceleration chipsets.
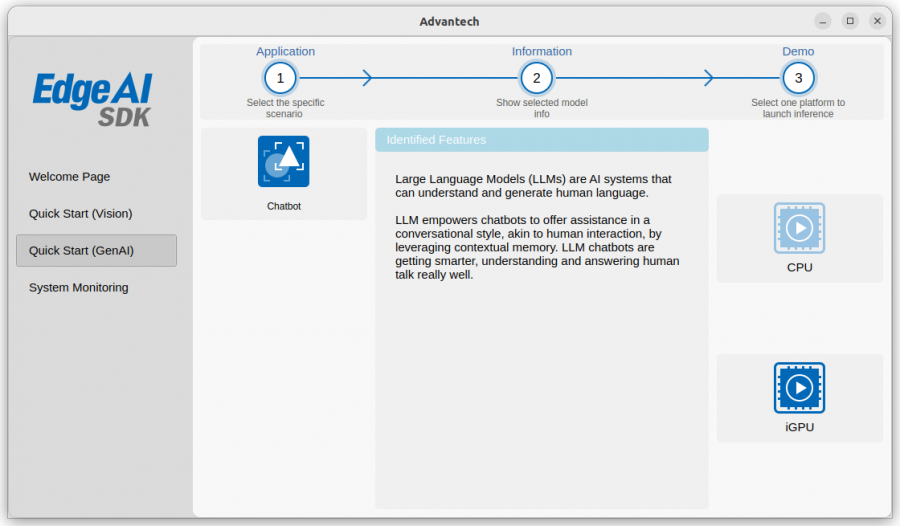
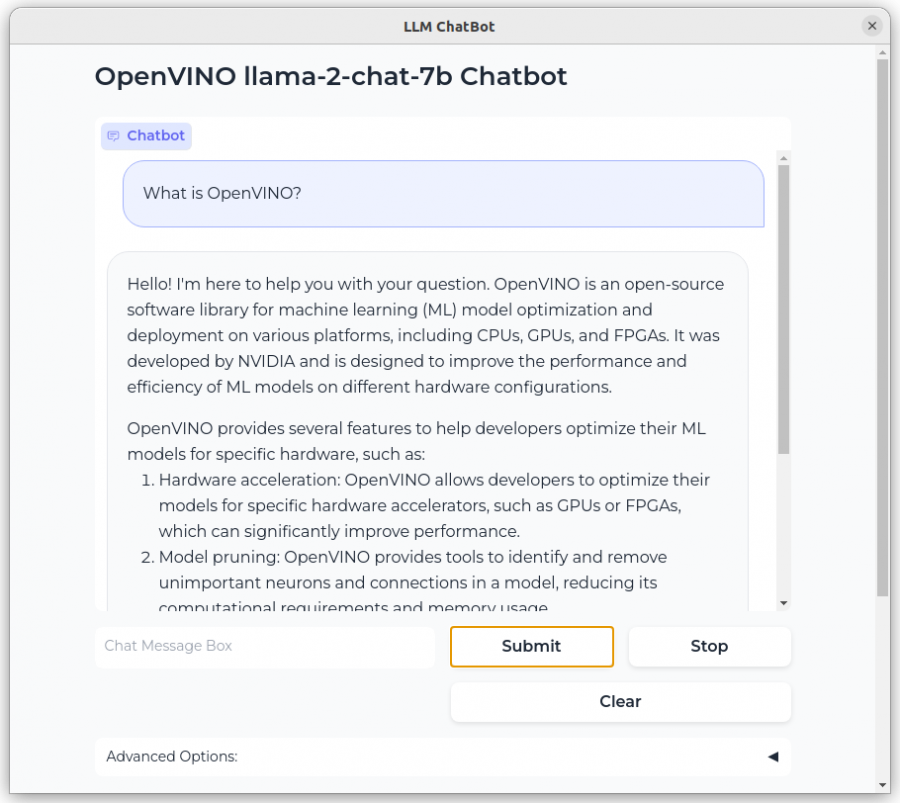
Step 4. Another window will pop up to show the chatbot.
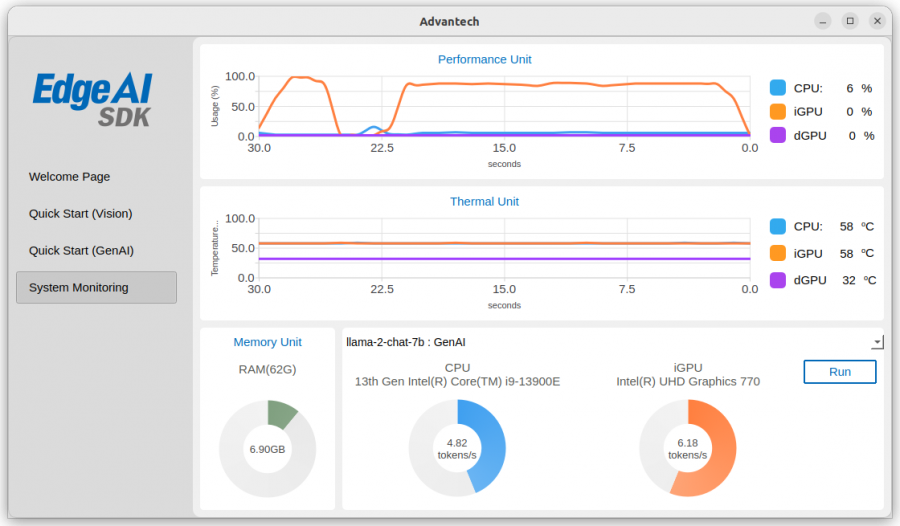
Monitor AI System Performance
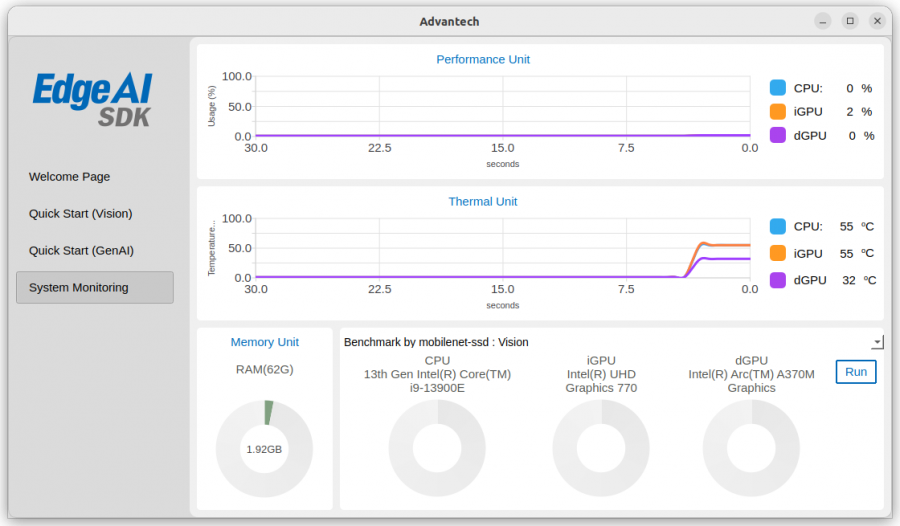
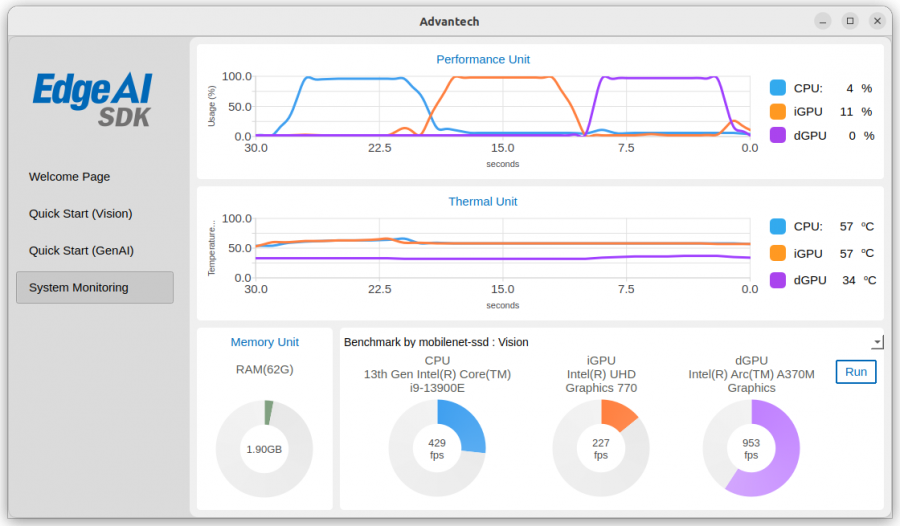
Go to the System Monitoring page.
This page shows payload and temperature for each chipset.
Evaluate the Benchmark Performance
-
Go to System Monitoring → Vision, click Run to evaluate chipset performance.
FPS results will show after a few seconds.
-
Go to System Monitoring → GenAI, click Run to evaluate performance.
Token results will show after a few seconds.